How It All Began
Ever since I was a kid, I loved looking up.
But when I got my first telescope at 10 — a cheap refractor — all I saw was blackness. No colorful nebulas. No shimmering galaxies. Just a stark truth:
Reality doesn’t match the documentaries.
At the time, I thought something was broken — maybe the telescope, maybe me. But I later realized the problem wasn’t the gear — it was expectations.
Amateur astronomy doesn’t look like Hubble. Not to the naked eye.
Within a month, I gave up.
But my love for space? It didn’t fade. It grew.
Round Two: A Bit Older, A Bit Wiser
At 17, I got a basic reflector on an equatorial mount. I knew more now. But I still hadn’t grasped a key idea:
Your eyes will never see the sky the way a camera does.
Why? Because our eyes can’t gather light over time. But a camera can. And that’s the secret behind those stunning astrophotography shots you see online.
I started reading about image stacking, long exposures, post-processing — and that’s when the universe cracked open for me.
And so did the complexity.
I wanted a setup that was simple, modular, and under $260. Something that worked with a button press. Something mine.Something where you could just press a button, and it works.
Enter: The 3D Printer
At 20, I bought a 3D printer.
The first one sucked.
Then came the Ender 3 — better, but bed leveling was a nightmare.
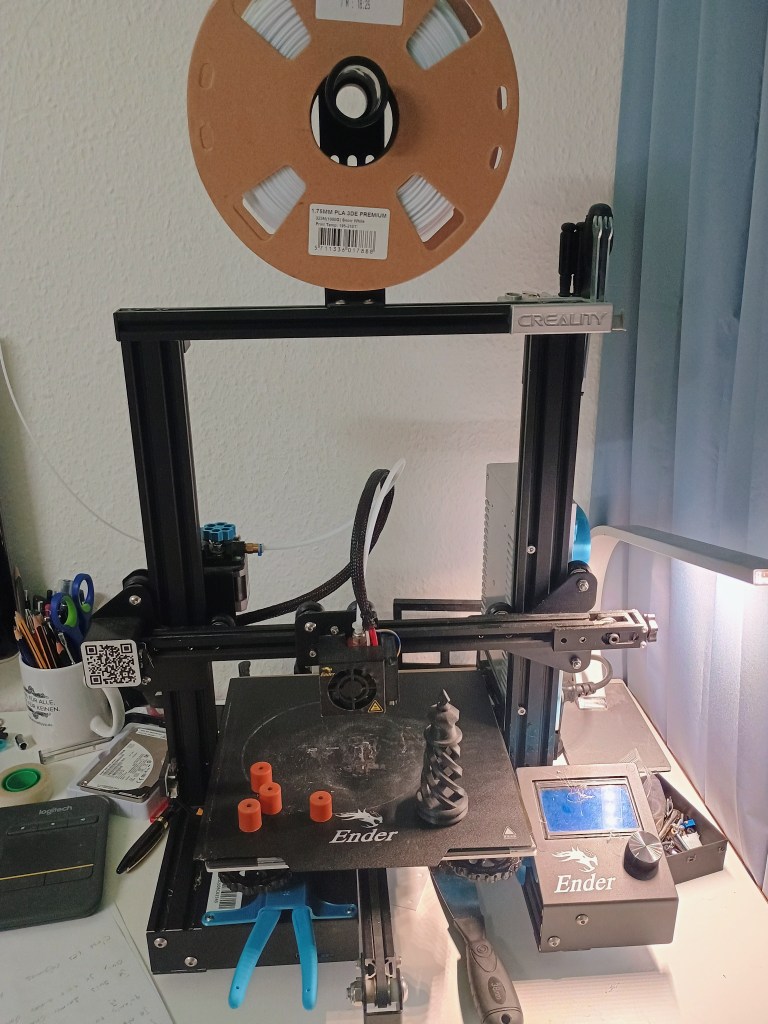
Finally, I got an Ender 3 S1: direct drive, auto-leveling, solid nozzle. I started printing random stuff… but I wanted more.

That’s when I discovered FreeCAD. It was like my brain found its match — free, open-source, made for building things that work.
The Struggle That Nearly Broke Me
I had a Sony A58 DSLR, and I wanted to connect it to a telescope. Simple idea, right?
You’d think someone online had made a 3D model for a custom adapter.
Nope. Nothing.
No files. No guides. No measurements. Just forums that went in circles.
So… I had to build it from scratch.
And I’d never done something this custom before.
I spent hours staring at my camera like a detective, watching how the lens locked into place.
I took measurements. Designed. Printed. Failed. Repeated.
Some attempts worked. Most didn’t even come close.
I had to learn the geometry of lens mounts the hard way — through months of trial and error.
I told myself I’d finish by January.
It finally worked in June.
That’s six months of tweaking, testing, and redesigning.
So many nights I wanted to give up. Headaches. Self-doubt. That sinking feeling of:
“Why doesn’t this work? I’ve tried everything.”
And then the thought that really haunted me:
If I can’t finish this, how will I ever build the bigger things I dream about?
But I kept going.
Eventually… it clicked.
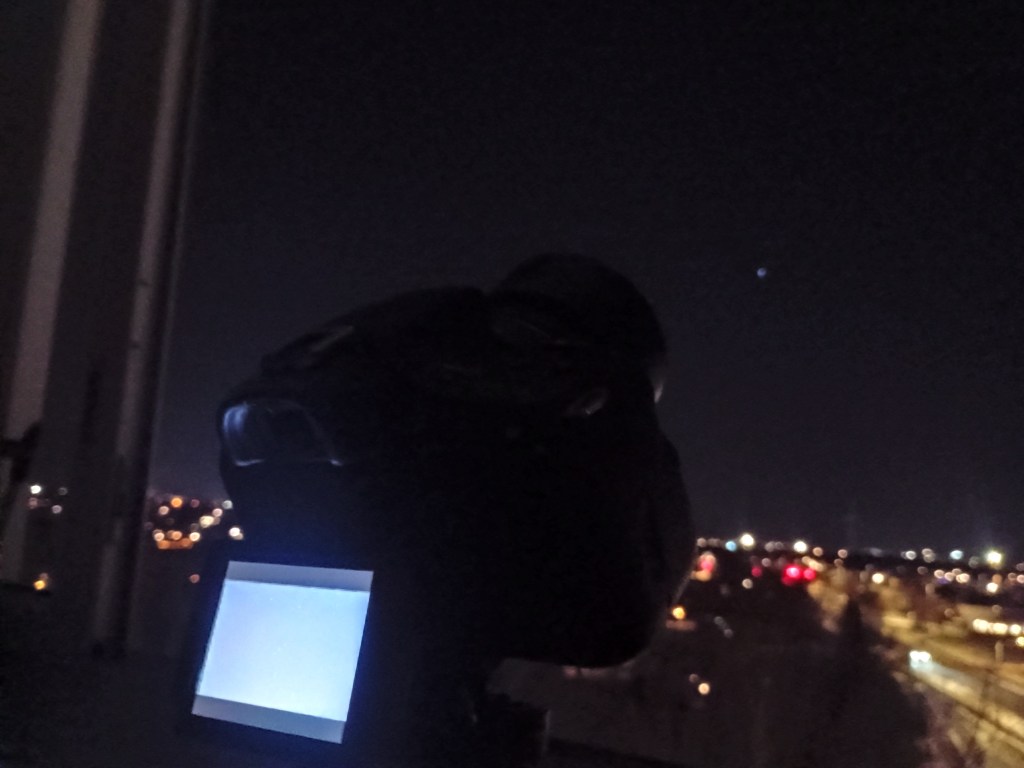
I pointed the scope at a building. Focused.
The image showed up.
Later that week, I photographed the Moon.
Victory.
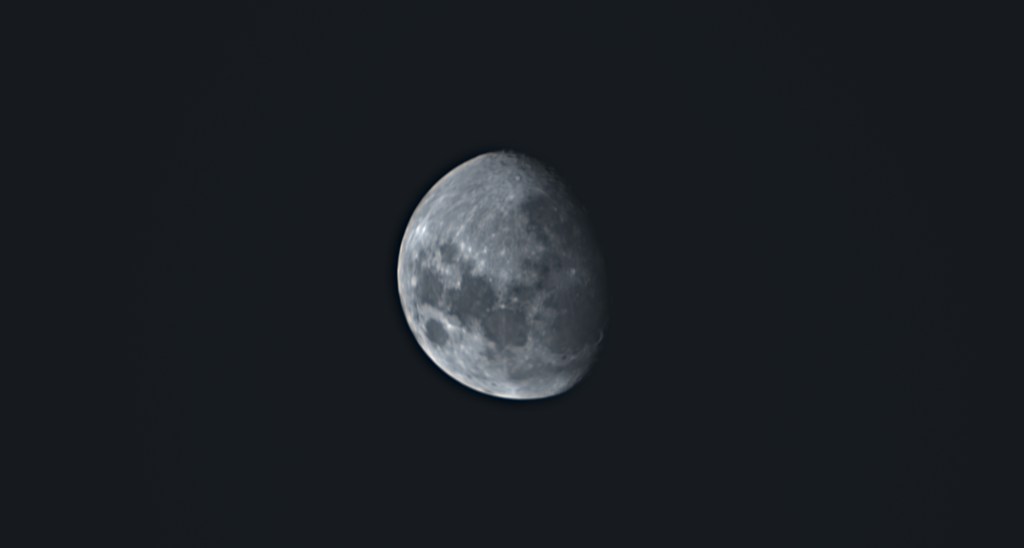
The First Image That Meant Something
It wasn’t sharp. It wasn’t fancy. But it was mine.
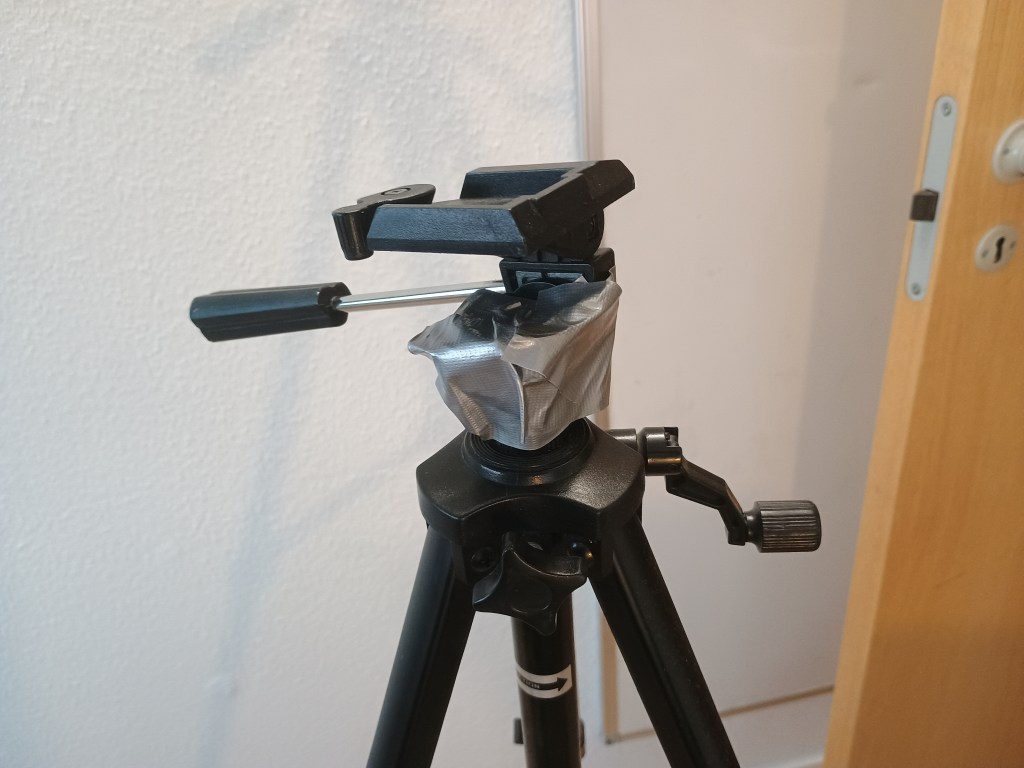
No tracking mount, so I taped the LCD screen and nudged the tripod every minute by hand.
I managed to snap Jupiter and the Pleiades from a hilltop.
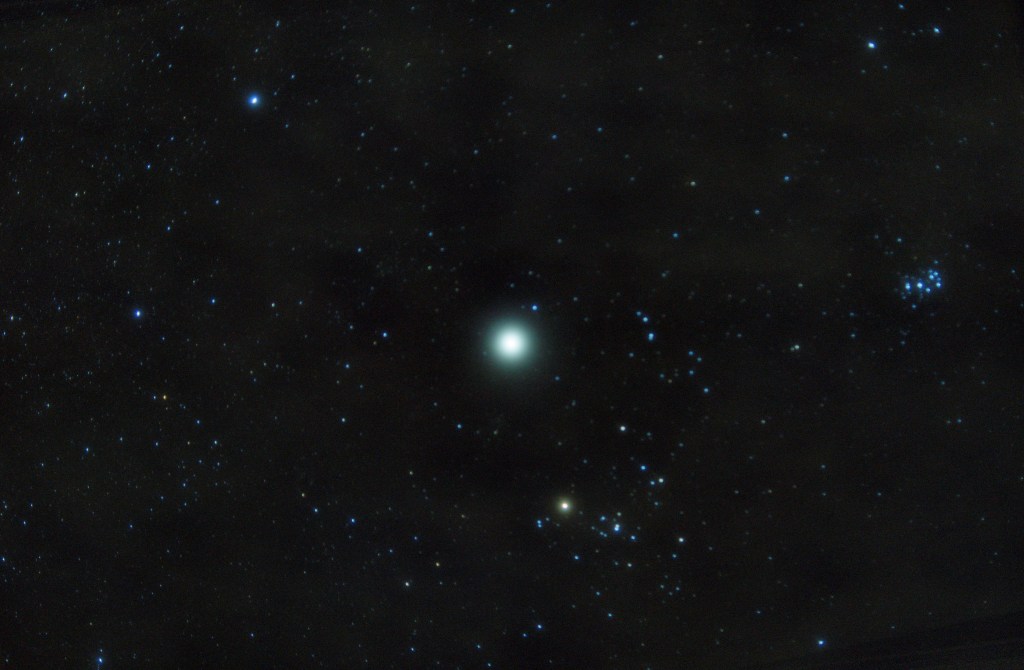
Were they blurry? Sure. But to me, it was a breakthrough.
I kept shooting. My south-facing balcony became my base.
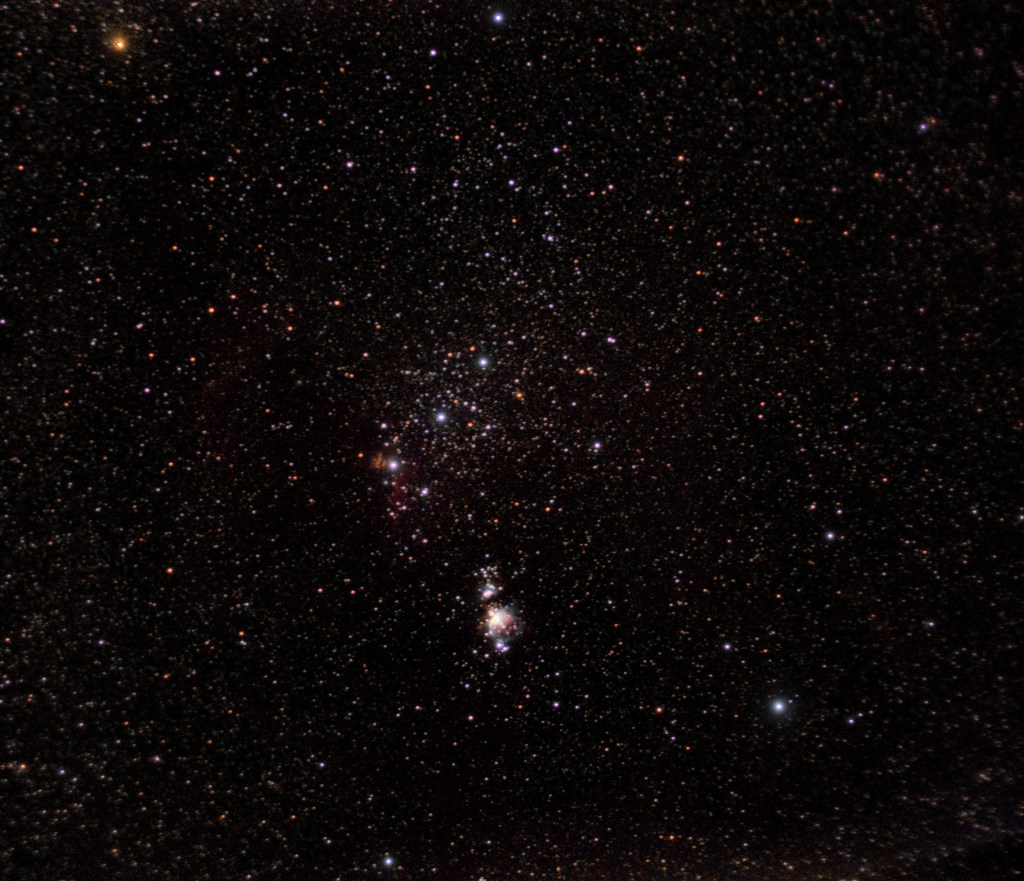
I took a photo of Orion that’s still my phone wallpaper today.


Then came another challenge: field rotation.
My mount wasn’t polar aligned. Setup time was eating into photo time.
I needed something better. Something mine.
Maker Meets Astronomer
I bought a Meade ETX-70 — a quirky little telescope with an outdated alt-az mount.
Not exactly made for astrophotography… but I’d seen others make it work.
Then came the next blow:
My T-ring adapter didn’t fit.
Cue existential crisis.
But then I remembered:
I have a 3D printer.
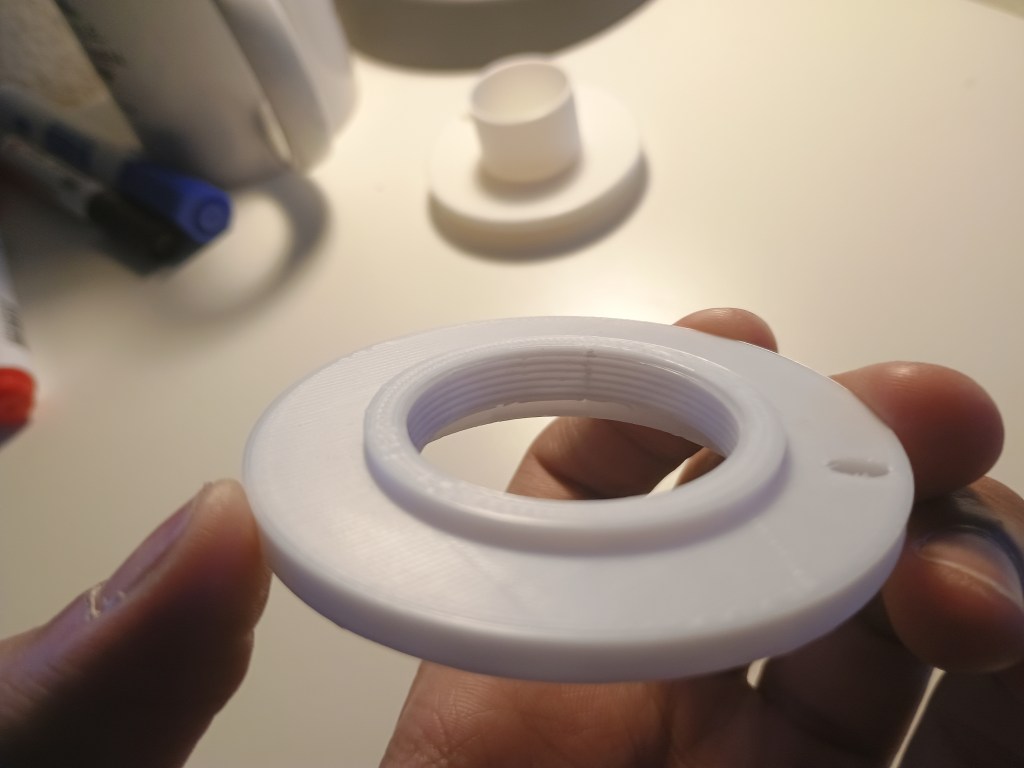
I redesigned the adapter — carefully factoring in that the Sony A58 sensor sits 40mm behind the mount.
A small detail… that took weeks to figure out.
Dozens of iterations later, it focused. It worked.
Lessons Learned (So Far)
Here’s what I’ve picked up along the way:
- 🔁 Progress is mostly boring. Most progress is boring. But if you keep pushing, something clicks. (This is how many iteration was needed for the final product)

- 🧰 You don’t need perfect gear.. My best photos were taken with mismatched parts and duct tape-level solutions (literally).
- 🧠 You can build what doesn’t exist.. No one had made a custom Sony A58 adapter to meade etx 70. Now I have one — and it works.
Tools That Helped Me
If you’re starting out, here are the tools that made a difference for me:
- 🛠 FreeCAD – For designing custom parts. Totally free and surprisingly powerful.
- 📷 Siril – My go-to for stacking and editing astro images. Great control, Linux-friendly.
- 🔭 Sony A58 + Meade ETX-70 – Not the ideal pair, but they got me here.
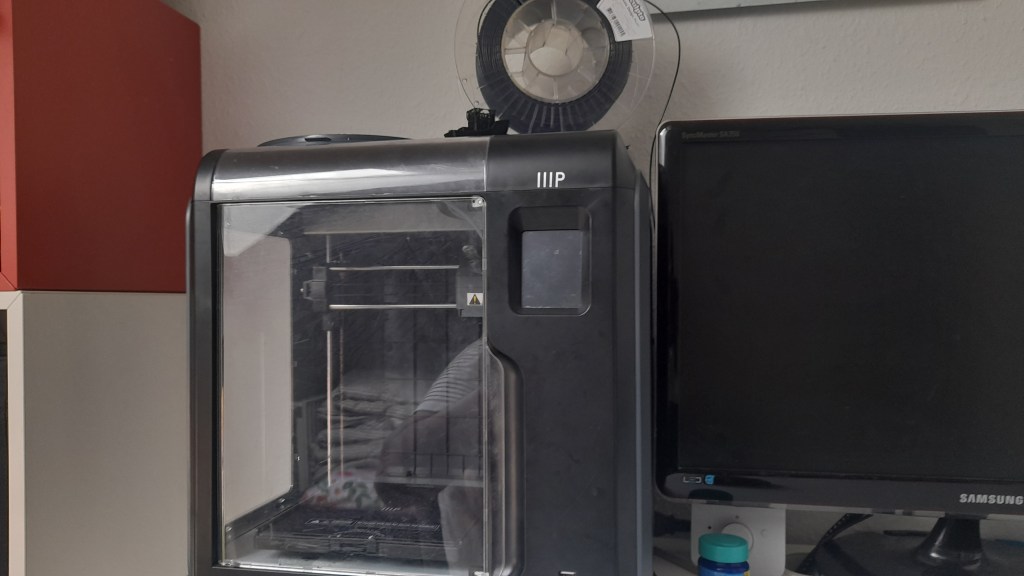
- 🖨 Ender 3 S1 – My workhorse for printing telescope parts and adapters.
What’s Next?
This is just the beginning.
I’m currently designing a smart, modular telescope mount that’s:
- 💸 Affordable
- 👶 Beginner-friendly
- 🧭 Works even when Polaris isn’t visible
- 🧩 Built with 3D-printed parts
I’ve also got even bigger electronics projects coming soon — and this blog will be the place where I document everything.
👉 Check out my builds and follow me on Thingiverse:
https://www.thingiverse.com/muha4012/designs
And hey — if you’ve ever been stuck in a DIY project that felt like it’d never come together…
I get it.
Stick with it.
The breakthrough comes right after it almost breaks you.
Your Turn
Have you ever built something from scratch when nothing existed online?
Are you trying to get into astrophotography, 3D printing, or DIY telescopes?
I’d love to hear your story. Drop a comment below or message me — whether it’s a small win, a huge fail, or something in between.
And if you’re curious about what’s next:
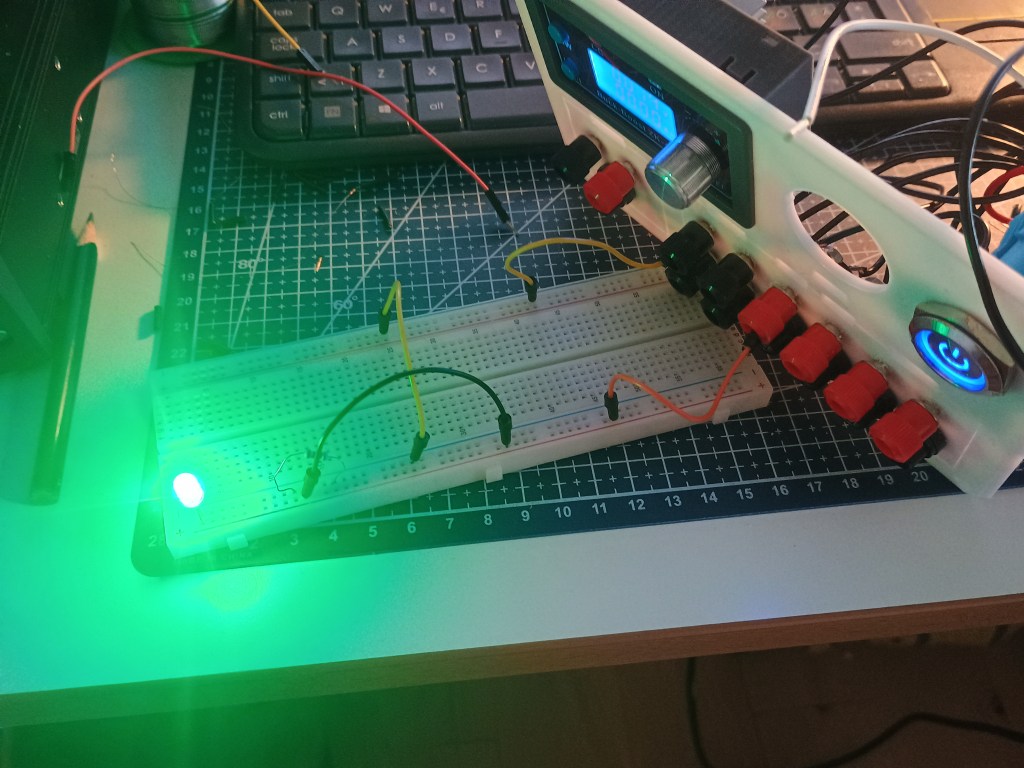
📡 I’ve got a brand-new electronics project dropping soon.
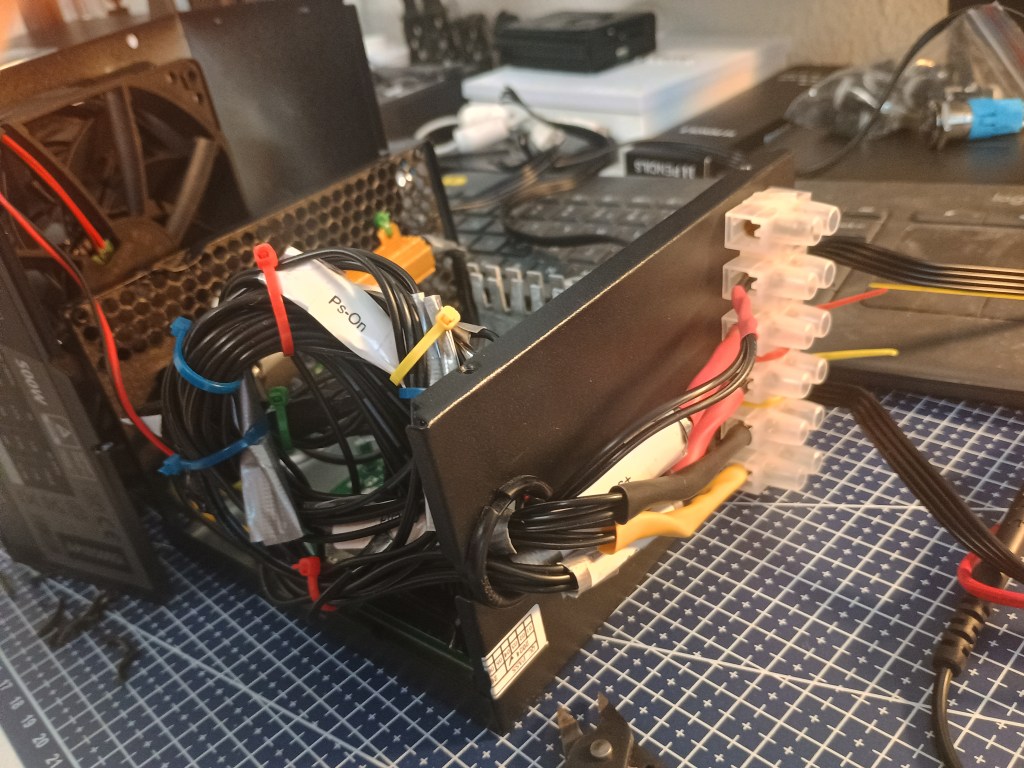
🗓 I’ll be sharing weekly progress updates — even during summer, when the days are too long for astro photos.
This journey actually started on New Year’s Eve 2025, and now, halfway through 2025, my passion is stronger than ever. It took months of trial and error, but now I can finally shift focus to what’s ahead.
So if you’re into DIY, space, or just like following big dreams with lots of bumps along the way…
Follow me.
I’ve got a thousand interests, and this is only the beginning.

Leave a comment