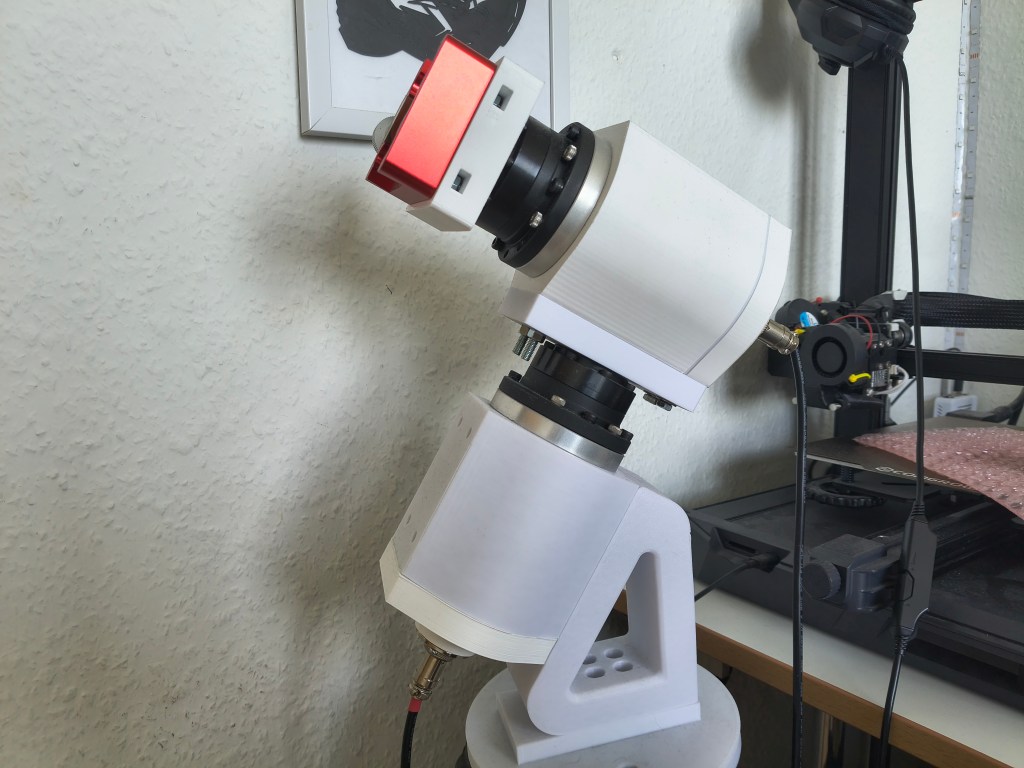
As the summer holidays come to an end, I’ve finally achieved something I’ve been thinking about for years:
I built my own telescope mount.
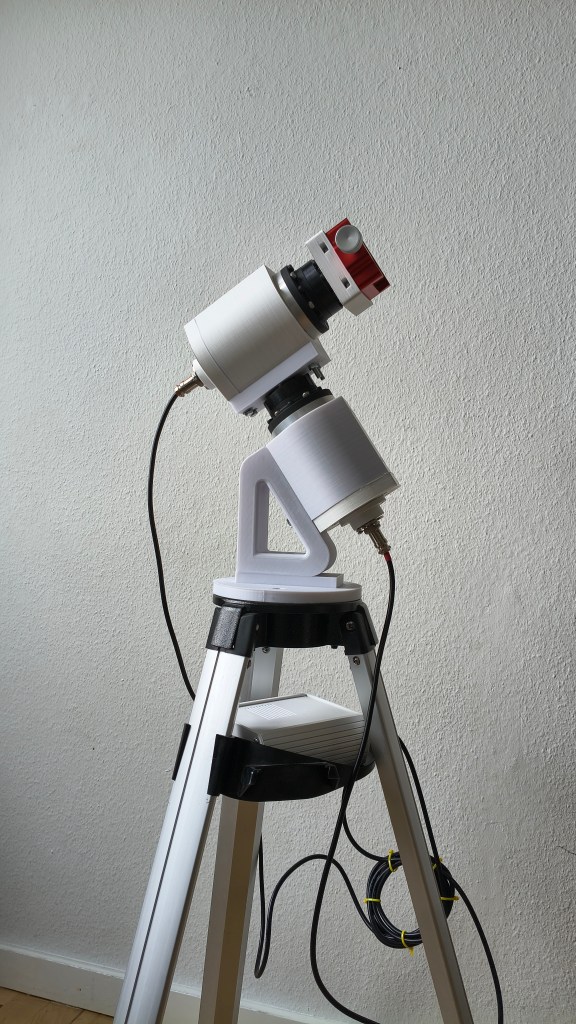
And somehow, the story goes all the way back to when I was 10 years old.
It started with seeing… nothing
When I was 10, I was fascinated by the stars and got my first telescope.
I was expecting to see something resembling the incredible images I had seen from NASA.
Instead, I looked through the telescope and saw…
black.
At 10 years old, I obviously had no idea why.
My interest in astronomy eventually faded. But when I was 17, it came back — this time in a slightly different form.
I discovered astrophotography.
That opened up an entirely new world.
I learned about image stacking: taking many individual exposures and combining them to reveal extremely faint objects that would otherwise be almost impossible to see, such as nebulae and distant galaxies.
It was fascinating.
But then I discovered another problem.
The Earth is rotating. 🌍
Duhhh.
If you want to take long-exposure photographs of the night sky, the telescope can’t simply stay still.
The Earth is constantly rotating, which means the stars appear to move across the sky.
So your telescope needs to continuously compensate for that movement.
You need a tracking mount.
And good astrophotography mounts aren’t cheap. A typical one can easily cost around $770, before you’ve even bought the telescope, camera, and all the other equipment needed for astrophotography.
At that point, I had a 3D printer and was becoming increasingly confident with mechanical design.
So, naturally, I had what was probably a slightly naive thought:
“Why don’t I just build one myself?”
What could go wrong? 😅
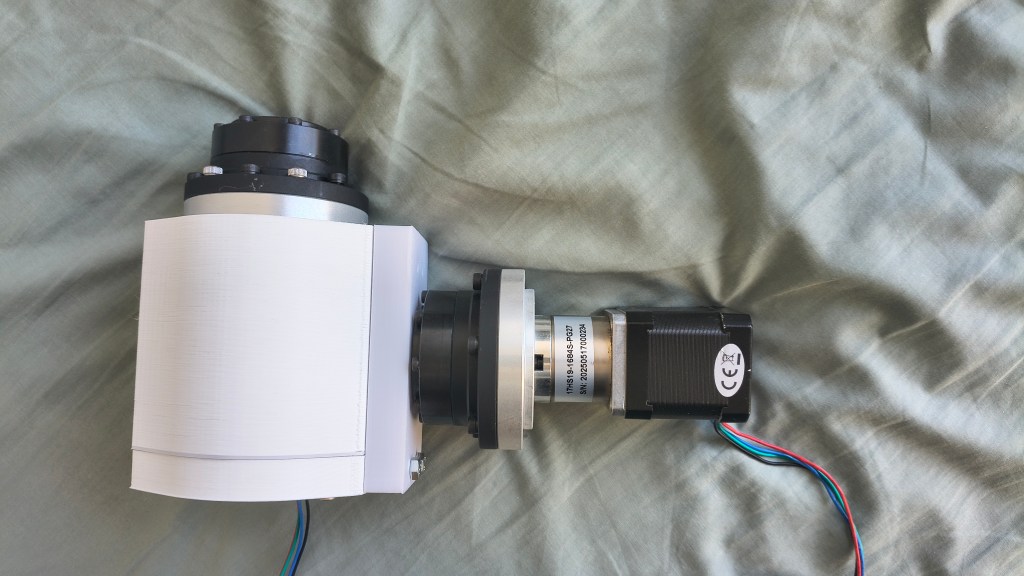
Turning a naive idea into an engineering project
I quickly learned that building a mount capable of tracking the night sky accurately is quite a bit more complicated than it sounds.
The mount needs to move extremely precisely and consistently.
That meant months of:
- Mechanical design
- 3D printing
- Electronics
- Reading datasheets
- Talking to manufacturers
- Testing
- Debugging
- Redesigning
- And a lot of failed experiments
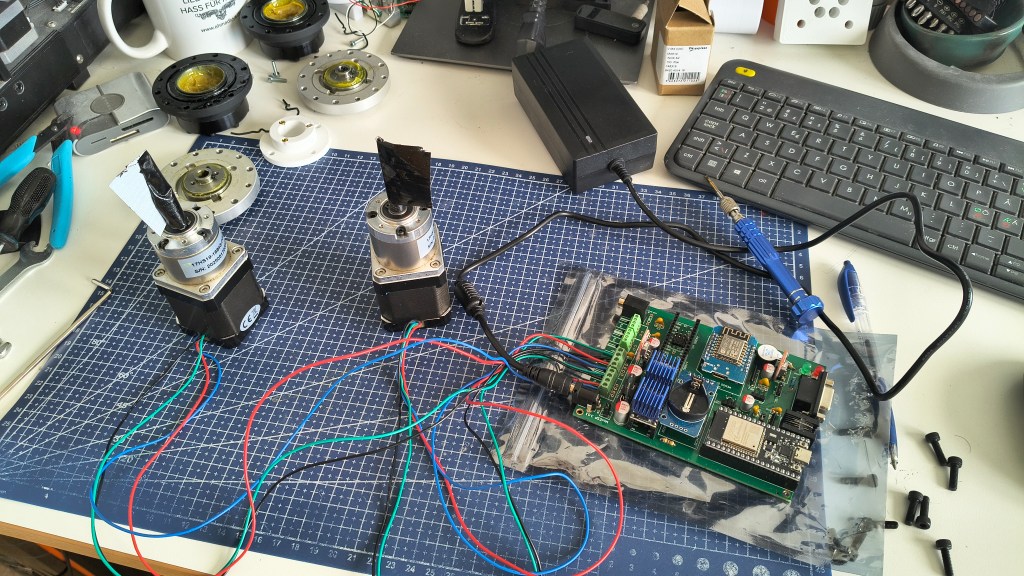
The development cycle became:
Design → Build → Test → Fail → Improve → Repeat
Over and over again.
Every problem seemed to reveal another problem.
But eventually, something changed.
It worked.
The mount moved.
It responded to commands.
And, after fixing the major bugs, I finally had something that resembled the idea I had started with months earlier.
The first movement
There is something surprisingly satisfying about watching a machine move for the first time after you’ve spent months designing and building it.
Especially when you know exactly how many iterations went into making that movement possible.
The mount isn’t finished.
I’m already thinking about improvements for version 2, and there are plenty of things I’d like to redesign and optimize.
But for now, I’m happy with what I’ve built.
There’s still one major test left, though.
The night sky.
Waiting for the dark
I haven’t been able to properly test the mount under the night sky yet.
Living in Denmark presents a small problem for astrophotography during the summer:
the nights don’t really get dark enough.
Once the darker nights return, I’ll finally be able to put the mount through its intended test.
And astrophotography isn’t exactly a quick experiment.
A single deep-sky image can require 4–5 hours of exposure.
So when I finally get the opportunity, the mount will have plenty of time to prove whether all those months of engineering were worth it.
The next challenge: software
The hardware is only part of the project.
The next big challenge is software.
Eventually, I want to integrate a computer running NINA that can analyse the images coming from the camera, evaluate the alignment and tracking performance, and automatically make adjustments when necessary.
That would turn the mount from a machine that simply follows commands into something much more intelligent.
There’s still a long way to go, but that’s what makes the project exciting.
From a 10-year-old seeing nothing
Looking back, it’s funny to think about where this started.
At 10 years old, I looked through a telescope expecting to see the spectacular images I had seen from NASA.
Instead, I saw nothing.
Years later, that same curiosity turned into a multi-month engineering project combining:
Mechanical design. Electronics. Software. Manufacturing. Problem-solving. And a lot of patience.
And perhaps the most satisfying part is that I managed to build the mount for less than $300 — nearly 61% cheaper than buying a comparable mount.
But the cost saving isn’t really the most important part.
The best part was seeing the mount move for the first time and knowing:
I built that.
Sometimes, the best way to understand how something works is to be a little naive and simply decide:
“I’ll build it myself.” 🚀


Leave a Reply